
Window tinting is a perfect answer to enhancing privacy, reducing glare, and improving energy efficiency at home or the office. Choosing to tint windows is subject to several factors, including your priorities, between doing it yourself (DIY) or professional installation. Whereas professionally installed tints ensure the highest quality and longer life, the DIY approach costs less and gives you complete control of the process. This article will help you understand the benefits and drawbacks of both methods and explain why DIY window tinting is such a great alternative.
Understanding Window Tinting
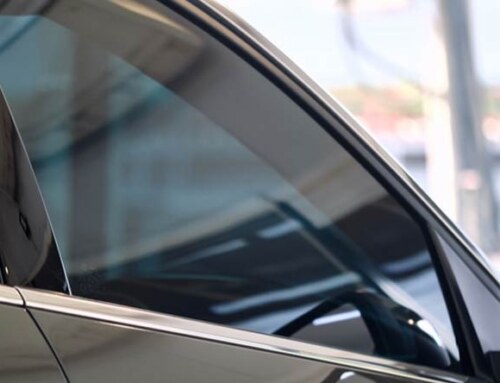
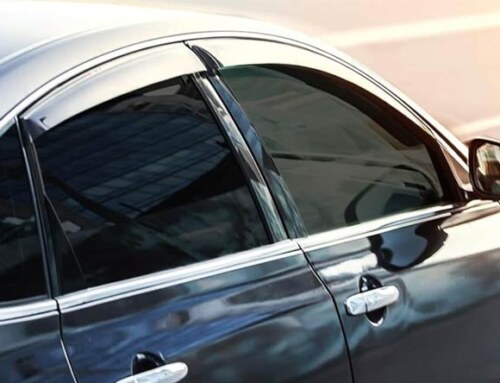
Window tinting refers to applying a thin film coating on glass surfaces to reduce heat, block UV light, and enhance privacy. Some of the well-known window tint films include:
- Solar Control Films – Reduce heat and UV radiation.
- Decorative Films – Introduce glamour and privacy.
- Security Films – Reinforce glass against breakage.
- Anti-Glare Films – Cut glare and eye strain.
Let us now weigh professional installation vs. DIY window tinting.
The Case for DIY Window Tinting
DIY window tinting has been popular because it is cheap and straightforward. Below are the reasons why you would instead use the DIY method:
1. Lower Costs
One of the most significant advantages of DIY window tinting is cost-effectiveness. Professional services are expensive, especially for large business properties. Using DIY, you spend only money on materials and tools, which may be much less.
2. Full Control Over the Process
Doing it yourself gives you complete control over film selection, design, and installation. This allows you to experiment with many different film types and achieve a customized look.
3. Easy Availability of DIY Kits
Most DIY window tinting kits can be easily accessed online and in hardware stores. The kits contain pre-cut films, applicators, and easy-to-follow instructions, making it even more straightforward for beginners.
4. Learning a New Skill
DIY endeavors can be satisfying. Tinting windows yourself allows you to acquire new techniques, which is helpful for all future home makeover projects.
5. Scheduling Flexibility
DIY lets you work as fast or slow as you want and set your own time schedule, rather than waiting at home for a professional installer to come in and do the work.
Challenges of DIY Window Tinting
Though its advantages, DIY window tinting is not without hardship. Here are a few things to keep in mind:
- Requires Patience and Precision – The process demands careful handling to avoid bubbles and wrinkles.
- Limited Warranty – There are usually warranties on most professional services but not DIY films.
- Time-Consuming – Experts can complete the task quickly, but DIY installation will be time-consuming, especially for large windows.
When to Consider Professional Window Tinting
Although DIY is a great option, some situations call for professional installation. Here’s when hiring a pro might be the better choice:
1. Large or Complex Windows
If you have oversized or uniquely shaped windows, professional installers have the expertise to apply tint evenly and efficiently.
2. High-Quality Results
Professionals use advanced tools and techniques to ensure a smooth, bubble-free finish for years.
3. Warranty and Longevity
Many professional services offer warranties that cover peeling, discoloration, or installation errors.
4. Commercial or Business Needs
Businesses often require high-quality tinting for security, energy efficiency, and branding. Professional installation ensures compliance with local regulations and durability.
DIY vs. Professional: A Side-by-Side Comparison
| Feature | DIY Window Tinting | Professional Window Tinting |
| Cost | Lower upfront cost | Higher initial cost |
| Skill Level | Requires a learning process | Done by experts |
| Installation Time | Takes longer | Quick and efficient |
| Quality | May have bubbles/wrinkles | High-quality, seamless |
| Warranty | Limited or none | Often includes warranty |
| Flexibility | Can be done anytime | Requires scheduling |
How to Successfully Apply DIY Window Tint
If you decide to go the DIY route, follow these steps for a smooth installation:
- Choose the Right Film – Select a high-quality film suited for your needs.
- Prepare the Window – Clean the glass thoroughly to remove dust and debris.
- Measure and Cut – Measure your window and cut the film accordingly.
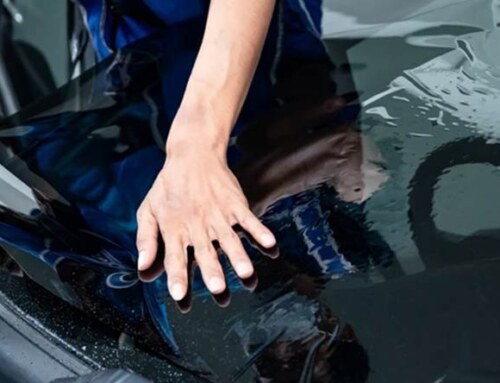
- Apply the Film – Use a soapy water solution to position the film on the window.
- Remove Air Bubbles – Smooth out bubbles with a squeegee.
- Let It Cure – Allow the film to set for a few days before cleaning.
FAQs About DIY Window Tinting
1. Is DIY window tinting difficult?
DIY tinting requires patience and careful application, but beginners can achieve decent results with the proper tools and instructions.
2. How long does DIY window tint last?
This varies based on film quality and installation. With proper application, high-quality DIY tints can last 5–10 years.
3. Can I remove window tint if I make a mistake?
If it needs to be removed, the tint can be removed with heat (hairdryer or heat gun) and soapy water.
4. What do I need for DIY window tinting?
Minimal tools are a spray bottle with soapy water, microfiber cloth, utility knife, and squeegee.
5. Will DIY window tinting save me money?
DIY window tinting is much cheaper than professional application, making it a cost-cutting option.
Conclusion
DIY window tinting is a cost-efficient and rewarding answer for people who desire to give their windows a makeover without burning a hole through their pocketbook. Although patience and training are required, it can bring creativity, flexibility, and savings. Nevertheless, hiring experts for massive projects or excellent outputs would be better. You can use your needs, finances, and skills to decide the best method for your window tinting project.